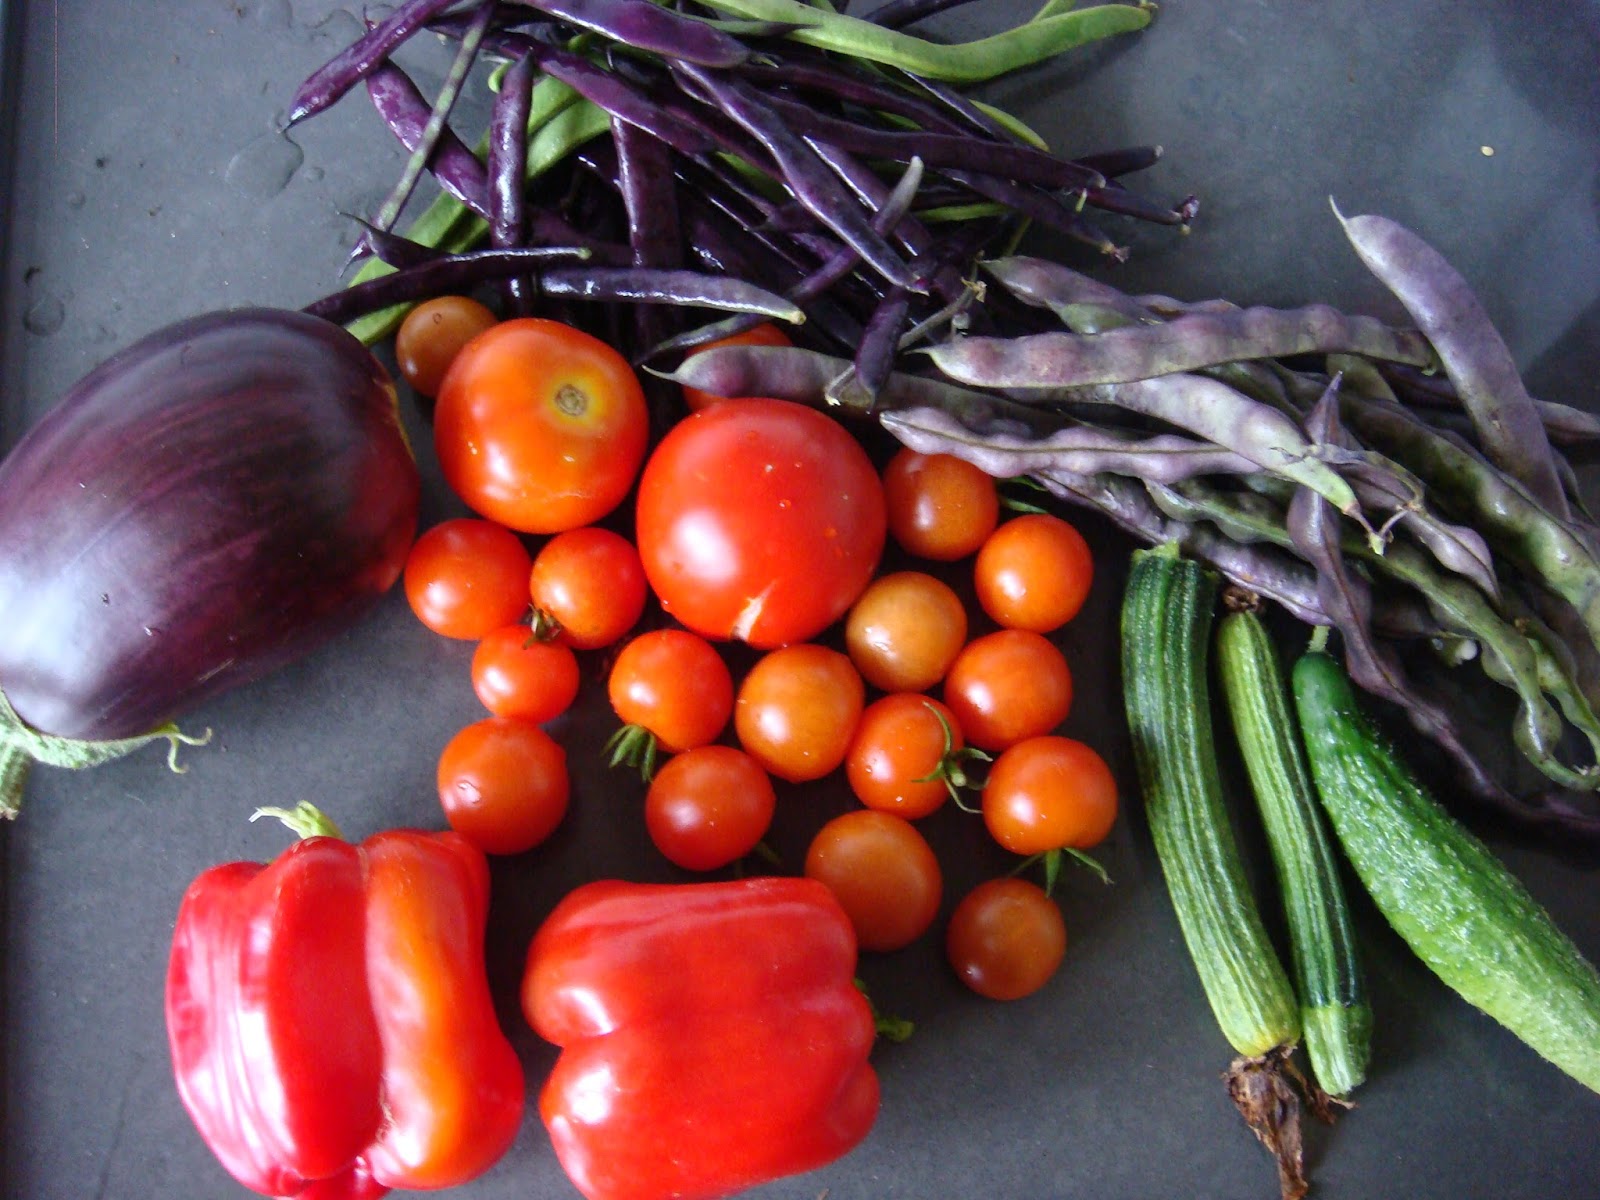
Sunday, 8 October 2017

Tidying up the garden and planning for next year

I have a tendency to just tidy up the garden in autumn and miss my opportunity to plan early for next year. This year though, I've planted a few things to give the garden more interest over winter, I'm leaving things in where I don't need the space yet (and in the case of the kale and hopefully the sprouts, where the vegetables are still producing food).
What I've done is remove all the dead cucurbit leaves.
Which left practically no leaves at all.
A few days later, I cleared all the squashes from the far end of the bed so I had room to plant onions (the type that need to go in in autumn) and, in line with my plan to include more flowers and ornamental plants, in particular between the beds of different crop types, I planted a line of bunny tail grass on the far side of the onions. I also planted a line of rainbow chard on the near side of the onions. The chard might not work out. I think it's technically a bit late in the season to plant them and the seeds are past their best before. But I've seen Monty Don plant things slightly later than the packet says is possible on Gardener's World, so I figure it's worth a shot. I'm mainly planting it for its appearance. I'm not a real fan of chard, although perhaps if it's my only choice of fresh veg I might be persuaded to use it more often.
The white flower is a carrot. Carrots are usually biennials, meaning that they have a two-year life cycle and don't usually flower and produce seeds until their second year. But I let squashes grow all over these and the plants got so stressed they decided to cut their losses and flower in their first year. I'm planning to collect the seeds and cross my fingers that this isn't a permanent change and that the plants I grow from the seeds won't also flower in their first year.
I also dug up the carrots from the thin strip of bed right by the fence for soup and planted my green manure, phacelia tanacetifolia, a pretty bluey purple flower on feathery leaves that you dig in to the soil as a soil improver after you've grown it. This was also a little later than the packet says you can plant it, but given London's microclimate, I'm hopeful it will grow anyhow.
Because I started sowing next year's plants, I needed to know my rough overall plan for the garden, so I drew out the start of the plan for next year already.

Friday, 29 September 2017

What to do with a tough, oversized courgette

I picked my largest courgette of the year today. It was huge. Here's a picture of it on a chair so you can see it in context.
It was so huge that I had to cut it into 3 to weigh it:


In total it weighed 4.300 kg.
Unfortunately, when I looked at the insides it didn't look too enticing as a courgette. My second largest courgette had been fine and I'd made courgette, parmesan and herb soup out of it. This one, though, was much tougher, with a thick, leathery skin and a different texture.
Once I'd scooped the seeds out (because I wanted to save some and I didn't want them to go on my compost heap), what it did remind me of was a squash - especially given how thick and hard its skin was.
So I decided to roast it like I would with a squash.
I smeared it with olive oil then stuck it in the oven at 180° for 40 minutes like I would with butternut squash. I then seasoned it with salt and pepper and grated parmesan over it for flavour. It wasn't great just roasted, but it was fine for a roasted squash soup. I made my smoky roasted pepper and squash soup.
The texture is fine and so is the taste, which is great, because it means I don't have to waste the squash.
In other news, there have been colourful visitors in the garden. The Surrey parakeets turned up and helped themselves to my sunflower seeds.
The garden as a whole is looking decidedly tatty now. I'm not sure if my squashes are still gaining any extra size or ripeness given how dead the leaves look. My plan is to gather them in and sow some green manure and some onions in their bed on the weekend.

Sunday, 17 September 2017

Rhubarb and raspberry cobbler recipe (sugar-free option possible with stevia)

My neighbour gave me some rhubarb he'd grown in his garden, so I decided to combine it with my raspberries and make a cobbler. I was just about to go on holiday when he brought the rhubarb round, so I decided to freeze it and I also froze the raspberries. So my version of the recipe used frozen fruit, but you could also use fresh fruit, it would just take a bit less time to cook down than mine did.

I decided to use stevia granules instead of sugar because I try to avoid refined sugar. It worked fine in terms of how it baked and the texture, but it definitely didn't taste the same as sugar. I think sugar would have been nicer. We both noticed that it seemed to taste better and less different the next day. I can't say whether that's because we were more used to it, because I served it cold or because stevia's taste changes over time when combined with fruit. One possible option I might try in future is to make the fruit part the say before, then bake it and the cobbler dough the next day.

I've noticed that different stevia granule types differ in how much stevia they say is equivalent to a teaspoon of sugar. The one I used said that a third of a teaspoon of the stevia granules was equivalent to a teaspoon of sugar, so I divided the quantity of sugar I would have put in by 3. Check how much yours says is equivalent to sugar and divide the amount of sugar I've written in the recipe and adjust the quantity accordingly.

You can also use a completely different fruit. This is lovely with cherry pie filling.
Recipe serves 8 (it works fine if you halve the quantities to serve 4)

420 g rhubarb
200 g raspberries
1 rounded tbsp cornflower
120 g sugar (or equivalent quantity of stevia granules)
300 g self-raising flour (or 285 g of plain flour and 4 level tsp baking powder)
pinch of salt
110 g cold butter
75 g sugar (or equivalent quantity of stevia granules)
2 medium eggs
2-4 tsp milk
optionally: 4 tbsp brown sugar (do not substitute in the stevia version, just leave this out)
1 tsp cinnamon

1. Chop the sticks of rhubarb into 3 cm long sections and heat gently in a pan until it looks like this:
2. Add the cornflower and 120 g of sugar and stir thoroughly.
3. Add the raspberries and stir. Turn off the heat.
4.  Preheat the oven to 190° (non-fan-assisted)
5. Sift the self-raising flour (or plain flour and baking powder) and salt into a large bowl.
6. Rub the butter into the flour until the mixture resembled fine crumbs.
7. Stir in the 75 g of sugar.
8. Make a well in the centre of the flour/butter crumbs and crack in the eggs and add 2 tsp of milk. Stir in with a fork, making sure you have thoroughly broken up the egg yolks. Afterwards the dough should look like this:
9. Use your hands to knead it into a smooth ball. You may need to add some of the remaining two tsp of milk to do this. Do this a tiny amount at a time. It goes from too dry to too sticky unbelievably quickly.
10.  Transfer to a floured surface and sprinkle flour on the top as well so the rolling pin won't stick to it (if you don't have a rolling pin you can use a wine bottle or similar cylindrical glass bottle).
11. Roll out to around 3 mm thick, then cut it up into long strips about 6 cm wide.
12. Sprinkle the cinnamon over the strips and spread evenly. Also sprinkle over and evenly spread the brown sugar, if using.
13. Roll each long side of the strip to make very long, thin Swiss rolls, then cut the Swiss rolls into 1.5 cm segments.
14. Divide the fruit filling mixture between ramekins (or put it into whatever oven-proof dish you want to put it in - I did 4 ramekins and a small Pyrex dish).
15. Arrange the chunks of dough on the top with the cut side facing up.
16. You can arrange the ramekins/dish on a baking tray for convenience or just put them straight in the oven.
17. Bake for 15-25 minutes in the oven. If you bake the whole 8 servings in a single dish, it may take a bit longer. Take out when the dough is lightly browned like this:
18. Allow to cool far enough not to burn your mouth, then serve. For the ramekins, I recommend making a hole in the centre with a teaspoon and then (repeatedly) adding single cream. They're also good with custard or natural Greek yogurt. They're also good cold the next day.

Wednesday, 13 September 2017

Green bean and red tomato soup

Yet again I've nicked someone else's recipe idea, made it wrong (and into a vegan recipe) and liked the result so much I've decided to publish it on my blog. This time, in a major break with my usual M.O., it's a soup that doesn't need liquidising! Anyhow, it was rather lovely, but took me ages to make because gathering vegetables from the garden is so time consuming, especially if you're being good about digging carrots up with a fork instead of just yanking and hoping, and also composting your leaves, ends and peelings. So here we go:
Green bean and red tomato soup

(Serves about 5 or 6 in the large, lunch-sized portion sizes I use and gives you over 200g = over 2.5 of your 5 a day)

3 tbsp olive oil (I recommend one with a strong olive flavour)
1 large onion, peeled and finely chopped (frozen is fine, about 200 g)
3 cloves of garlic, finely chopped or crushed (or one block of frozen garlic)
3 large carrots, peeled and finely chopped (around 250 g)
Optionally: some shucked runner beans - I reckon I added about 15
500 ml boiling water
1 vegetable stock cube (alternatively: 500 ml of stock)
350 g fresh green beans, cut into 1-inch pieces (I used runner beans and purple beans)
450 g tomatoes, diced
1 tbsp basil, chopped (frozen is fine)
1 tbsp parsley, chopped (frozen is fine)
salt and pepper to taste

1. Add the olive oil to a large pan and heat on a low heat.
2. Peel and finely chop the onion and add to the pan, stirring occasionally.
3. Peel and finely chop the garlic and add to the pan, stirring occasionally.
4. Peel and finely chop the carrots and add to the pan, stirring occasionally.
5. Shuck any runner beans you want to add the shucked beans to the soup and add to the pan. (Some beans are too old, large and stringy to eat as green beans. You can shuck these = remove their shells/pods. But I find it often takes me a long time because they're hard to get out.)
6. Top and tail your beans and cut them into approx 2-3 cm lengths and add to the pan.
6. Boil 500 ml of water and add it to the pan.
7. Add the stock cube and stir (ideally until dissolved).
8. Simmer with the lid on for 15 minutes. While you are doing this, move on to the next step.
9. Dice the tomatoes and chop the basil and parsley. Once the 15 minutes of simmering from the previous step is up, add these to the pan. Simmer for a further 3-5 minutes.

10. Add salt and pepper to taste. Stir.

That's it, you're done. This soup doesn't need liquidising! Enjoy with bread, rolls or anything else you like to eat with soup.

Saturday, 9 September 2017

Autumn comes to the garden

In an ideal world, this would be a time of mellow fruitfulness. In my garden it's a time of powdery mildew.

Still, it hasn't harmed my squashes or courgettes.


My second-largest courgette was over 20 inches long and weighed more than my kitchen scales could handle. So I had to cut it in half to weigh it (I was about to chop it up for soup anyway). It turned out to weigh a total of 3.154 kg.


The green manure I put in the garden (plants you plant after crops have finished and before the next ones with the idea of improving the soil by digging them in before you plant your next crop) is coming up nicely and should provide more interest than I usually have in autumn and winter. I've planted it in the new bed that the sweet corn was previously in (the bed right at the front of the next photo) and also where there broad beans were, between the yellow flowering rocket and the runner beans.
I've also planted it around the pond in between the foxgloves and the honesty, where it's providing pretty feathery leaves and making me think I must buy some ferns for that end of the garden. The pond is weirdly unphotogenic. Every time I look at it, I think "wow, that's looking really good, I 'm so glad we put in a pond", but every time I try to display its full glory on a photo, it never looks as good as it does in real life. 
The pond has also been growing a new surface plant, which I believe to be duckweed. I'm in two minds about whether to try to remove it. It's supposed to be bad because it quickly covers the surface and starves the pond of light (but then, wasn't that what I was trying to do with the black dye?), and forums say different things about whether wildlife finds it beneficial or detrimental. Given that my pond's so small, I can always fish it out later if I change my mind (probably repeatedly, it sounds like it has that sort of persistence), but for now I'm going to hang onto it and see if more wildlife appears and if the other plants survive it.

Monday, 28 August 2017

Garden curry (vegan/vegetarian recipe)

I saw a curry on Gardener's World and liked the look of it a lot, but I couldn't find the recipe, so I ended up making up my own. I based it largely on what I had in the garden and in the fridge and also on this recipe from Tesco.
Anyhow, it turned out to be incredibly delicious and I am under instructions from my other half to make it again exactly like I made it the first time. My theory is that you can be pretty flexible about most of the veg in it, but the pineapple is essential and probably also the okra and aubergine. Anyhow, here's the original recipe:

Garden curry recipe (mild)
Serves 6

2 heaped tbsp coconut oil
1 large onion (=200g), peeled and diced (frozen is fine)
1 block of frozen garlic (=approx. 4 cloves of garlic, crushed)
1 block of frozen ginger (=approx 3 cm of a ginger root, crushed)
1 aubergine (approx. 300 g), cut into chunks
200 g okra, cut into chunks
1 red pepper, chopped
1-2 courgettes (approx. 50-100 g), chopped
60 g cucumber, peeled and chopped (optional)
50 g podded beans from runner or French beans (optional)
1 tsp ground fenugreek
1 tsp cumin
1 pinch chili flakes (feel free to add a load more chili if you love your curries hot)
1/2 tsp turmeric
500 g tomatoes, chopped (ideally skinned)
1 fresh pineapple, peeled and chopped
500 ml boiling water
1 tbsp tomato puree
4 tsp tamarind sauce (optional)
200 g runner beans/French beans, chopped
4 tbsp natural yogurt (optional - leave out for vegan version)

1. Heat the oil in a very large pan (I used a Le Creuset casserole dish).
2. Add the onion and cook for 10 minutes, until softened, stirring occasionally. While it is cooking, (peel and) chop more of the vegetables for the recipe (in the order they appear in the list of ingredients - you can see what size to chop them from the pictures below - the rough rule of thumb is bite size).
3. Add the garlic and ginger to the onions. Keep chopping vegetables until the garlic and ginger have defrosted and can be stirred into the onions (about 5 minutes).
4. Add the aubergine and stir occasionally for 5 minutes. During that 5 minutes, keep chopping vegetables!
5. Add the okra, red pepper, courgette, cucumber and any podded beans (I only ended up with a few, they took forever to shell).


6. Stir in the ground fenugreek, cumin, chili flakes and turmeric.
7. Add the tomatoes and the pineapple.
8. Add 500 ml of boiling water, the tomato puree and (optionally) the tamarind. Bring to the boil, then reduce the heat and simmer for 20 minutes. While it's simmering, chop the runner/French beans if you haven't already done so.
9. Add the runner/French beans and simmer for another 4-5 minutes.
10. Optionally serve with yogurt on top. Serve with rice or naan or chapati or anything else you usually serve with curry. I served mine with some paratha that I found in the freezer section at Morrison's and they were gorgeous.
This is what it looks like if you don't add the tamarind