Sunday, 31 March 2019

A lot of work for as yet largely invisible results

The last couple of weekends, I've been out planting seeds in the garden and in pots. There's not a lot to show for it yet in the garden, though.

After hours of weed removal, compost spreading and seed sowing, all you can really see is bare ground. The lovely large and healthy line of chard on the right is from last year and is fairly soon going to have to go to make way for this year's crop in my crop-rotation scheme. It's got until June when I'll need the space for tomatoes. I've planted all of my root vegetable, alliums and lettuce and about half my brassicas. It took much longer than I was expecting as well, possibly due to excessive optimism on my part. I've largely been remembering to water too, but there are no signs of life yet.

The only first shoots of growth from this year's outdoor sowing are in my legumes. I've finally planted out the broad beans. I start them off in pots, as my experience says that there's nothing my slugs and snails like better than the first broad bean leaves and the pots put them off. This week, though, I deemed them large enough to risk the open ground.
My mangetout are coming up too:
I grow mangetout instead of peas because my peas tend to get pea moths and quickly become inedible. This doesn't affect the mangetout stage and also you don't have to shell mangetout, which is a definite bonus. These could theoretically have gone straight in the ground. I've never noticed a particular snail problem with these. But I don't yet have room, as I'm still harvesting my purple sprouting broccoli, which is taking up the space they will eventually fill. Initially I was disappointed with the purple sprouting broccoli as a plant, but I think that was simply because I didn't realise how long I was going to have to wait for it. It's been producing for about a month or so now and I've had a decent amount of veg from it that tastes every bit as good and tender as the shop-bought stuff. The trick is to keep harvesting, then it keeps coming. Oh, and also to kill the bugs if your plant gets an infestation.
I'm also growing additional seedlings both indoors and in the greenhouse. The ones in the picture are my kohl rabi. I've got tomatoes, chillies and peppers coming up indoors.
The other things that have been growing already have had little to do with this year's planting and more to do with lucky decision-making in previous years. My raspberries are pushing up new shoots. I love them so much. They grow like weeds, produce a huge amount of fruit and only need me to pick the fruit, cut them back at the end of the year and dig them up and gift them to friends when they stray out of their allotted area. Oh, and a bit of weeding around them too I suppose, although they can easily compete with my weeds if I don't bother. Best food plant ever.
The climbing white roses planted along our back fence have produced a ton of leaves and new growth. They've definitely survived being planted in the shade and have grown so tall that parts of them now enjoy full sun.
And our new red climbing rose to climb all over the house is also looking like it's settled in happily too, with the arrival of plentiful new leaves.
Overall, the gardening year has well and truly started, but it'll be a while before I see the fruits of quite a lot of my labours.

Sunday, 17 March 2019

Spring has sprung and now the work begins

Spring has arrived with all its crazy weather and the start of all the fun (=work) in the garden. These photos were both taken on the same day (17 March), blazing sunshine and rapid hail:

It took quite a lot of work to get the garden into the neat condition you see in the photos. It was previously covered in small weeds and a lot of foliage was hanging over the fence from next door. This weekend I had a major clear out and then we took three over-stuffed tubs full of hard, twiggy garden waste to the tip – or the recycling and reuse centre, as it likes to call itself nowadays. And indeed, it deserves that name. It turns the garden waste people bring it into compost. The compost is then all piled up in a big shipping container with shovels for putting it into your own container. You're allowed up to 4 bags of it per day. So I filled up half of one of the tubs we brought the garden waste in – I didn't want to be greedy. It looks like good stuff and it definitely doesn't damage the peat bog habitat, which is an extra bonus. I'm going to see if I can grow seedlings in it with some of my more plentiful seeds and if not, I'll just strew it over my soil.
I've done a lot of work in the garden this weekend, but I haven't got as far as I would have liked. In addition to getting rid of the weeds and branches overhanging the fence, I've also now planted my tomatoes and chillies to germinate on the dining room table. The dining room table is the perfect spot for this, as it gets more sun than anywhere else in the house. I'm a little later than I'd like to have been, but when I tried to make a start last weekend, I discovered that my compost, which had overwintered in an open bag in the greenhouse, was crawling with little black flies. I think an identical little black fly must have laid its eggs in it. Obviously I couldn't bring that into the house, so we tried to drive to the garden centre for new compost. Unfortunately the road to the garden centre had been temporarily closed and we didn't manage to work out how to get round it. Still, I managed to buy some this weekend (actually from B&Q in the end, as they had much better value peat-free compost), and I've even filled the watering can up with water, so that it can warm up to room temperature. When you're growing chillies, even tiny advantages like room-temperature water help.
Apart from that, I've also planted some mangetout in pots. They should really have gone straight in the ground, but my purple-sprouting broccoli has only recently become productive and I want to enjoy it for a little while longer before I clear the ground to make room for the peas. I  haven't done as well with the purple-sprouting broccoli as I would have liked. Pigeons love it, like they love all brassicas and have pecked a lot of it off.
It's also had quite a few little grey bugs of some sort infest it. Nevertheless, I've so far managed to get five portions out of it, with more still expected. It's less than an ideal amount for the number of plants I grew, but better than nothing. And cutting it encourages it to grow more, so I might yet be lucky, if it's not too late in the season.
In other news, when we did finally make it to the garden centre this weekend, we bought another climbing rose for the back garden. The ones at the far end of the garden are white, to make the most of their dark position. This one, which is intended to grow up and over the log store and then cover the back of our white-painted house, is red to stand out against the white background. The name of the rose we picked is Etoile de Hollande. It's going to be huge and covered in fragrant red roses in June/July and then again in September. I imagine it will take a couple of years to get as far as the house, but the first blooms and the fragrance should be with us this year already.
It's not going to get much light until it can make it up to the top of the log store, but it'll still get more than the iceberg climbing rose did on the back fence, so fingers crossed it can survive here until it reaches the light.

Saturday, 26 January 2019

Seeds bought for this year's garden

A lot of my seeds for the garden have in the past come from a subscription I had for Kitchen Garden magazine. Every month it arrived with new vegetable or fruit seeds attached to the cover. But it's been a while since I subscribed to the magazine and when I came to plan the garden this year I discovered that I had run out of a lot of seeds and others had gone out of date. So off we went to our local garden centre of a seed-buying trip. I came back with quite the haul:
The themes in this year's garden are going to be colourful plants and companion planting. That's why I chose non-standard colours of vegetables and also why I bought the calendula, the chrysanthemums and the lavender to plant as a companion alongside the vegetables. The mixed annuals I bought simply because the seeds were cheap and they'll help brighten up the garden.
This year's initial plan for the garden looks like this:

They're in pencil because I'll probably want to change them later. For instance, having just bought a pack of 50 onion sets, more of the root vegetable and allium section is probably now going to be dedicated to onions than I originally planned, and less to carrots and leeks. Also, I suspect I ought to move the tomatoes to use up some of the quarter of the garden dedicated to brassicas at the moment. I don't have a particularly good history with brassicas. We are very prone to both butterflies and slugs here. It's not the ideal position for tomatoes either, because it's the shady side of the garden, but when you do crop rotation in a garden, everything needs to take its turn on the shady side eventually.
The garden right now is looking messier, but more interesting than it previously has at this time of year.

I've left a lot of the root vegetables and brassicas in situ and am still harvesting them as I need them (although it's a bit nasty going out in the garden at this time of year, especially in the evenings, so I'm not using up as many of them as I should). We still have chard, carrots and beetroot waiting to be harvested. There are a few cabbages left. They didn't get very big, but they haven't suffered too badly from slug and caterpillar damage. The tall plant at the back is purple-sprouting broccoli. It hasn't produced any purple sprouts yet, but I live in hope that it still might, as I love that stuff and it's relatively expensive to buy from the shops.

Sunday, 21 October 2018

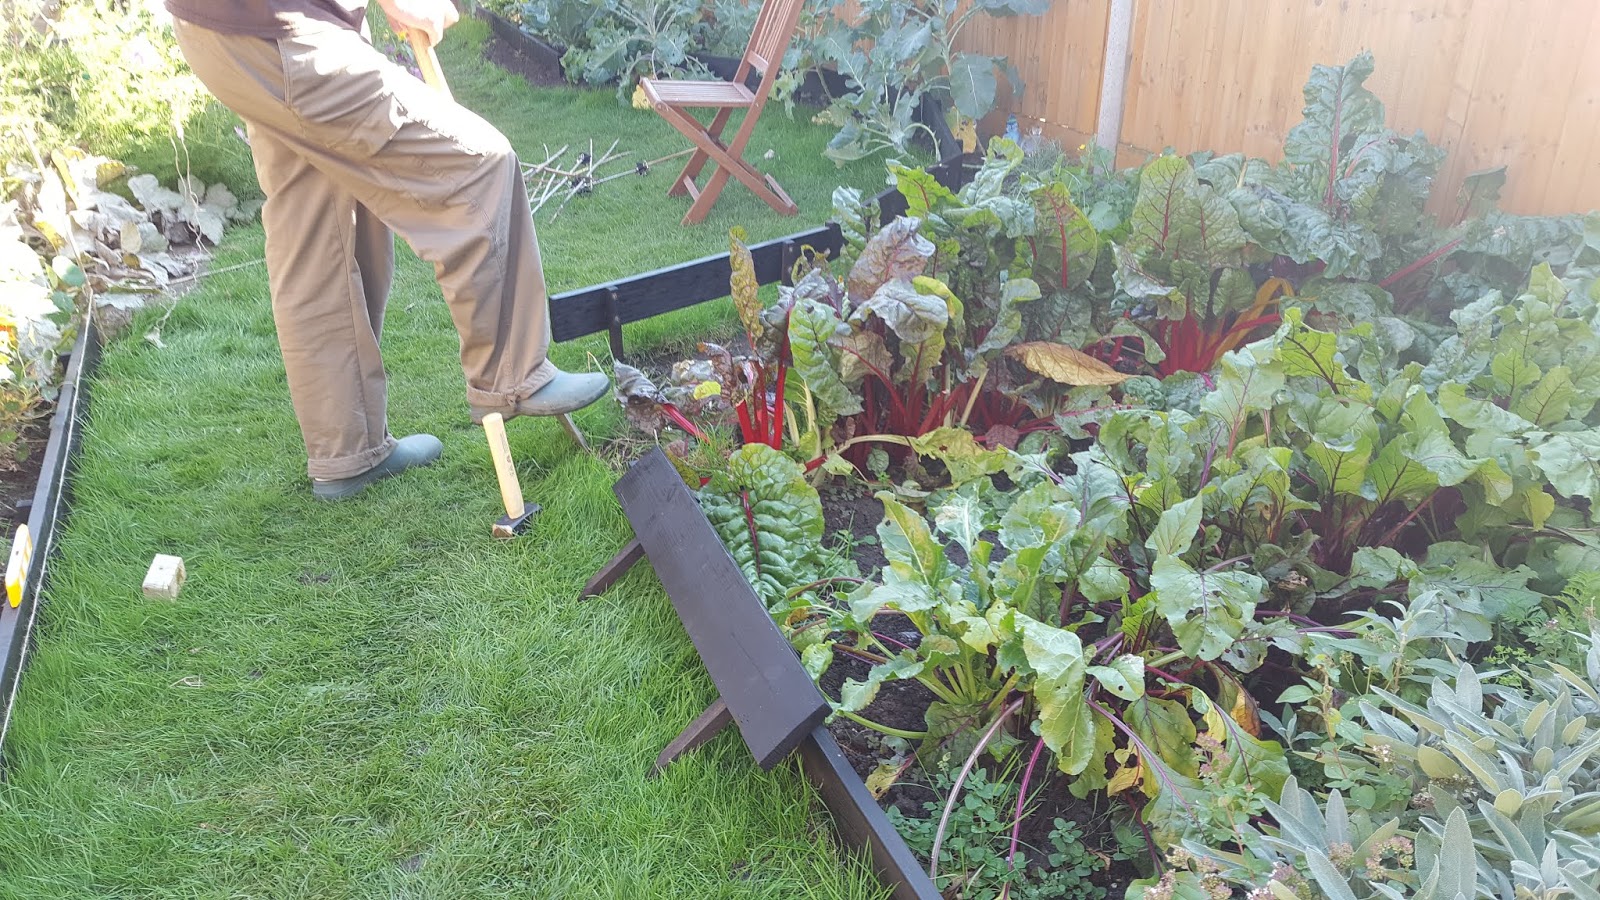
Edging made from decking boards

We have new edging round the beds in the garden.

It's made out of decking boards with wooden pegs screwed to them to stick them into the ground.
The first part of the project involved going to B&Q while the cheapest sort of decking boards were on special offer and buying a surprisingly large quantity of it. We needed more than would fit in the car on a single trip. In the next phase, my husband cut the boards into the lengths we needed for all the places where the full length of the board was too long and to go round the curved area of grass.
Then he stained all of the boards and the wooden pegs black and left them to dry. The logic behind the staining was that it should prolong the life of the wood. The logic behind the choice of black was that we already had some left over from the wood store and it should look good with that.
Finally, he screwed the stakes to the backs of the boards. We decided the side with the lines scored in them should be the backs (facing the beds), as we think grass would otherwise be likely to get stuck unattractively in there when we strim.
It looks particularly impressively neat round by the shed, where the narrow pieces of stone that weren't really wide enough have been replaced by large slabs and the beds have been sectioned off from these by boards.
My other half then reseeded the parts of the lawn that had gone bald or changed shape (he neatened up the shapes of a few of my beds and made lines straighter and less prone to random-seeming changes). It's about as late in the year as you can sow grass, so fingers crossed it starts to grow.
In other news from the garden, all of my cosmos is finally in full bloom.
It spills over the lawn and is a bit of a mess and I'm under strict instructions not to plant it again next year, as it refuses to flower for me until late September and gets huge in the meantime, but for now it is lovely.
Also, my biggest squash has unfortunately split and fluffy, white mould has got in, so I no longer have the delightful question of how to deal with cooking and eating a vegetable that huge. The cracks only spread to the top of it a few days ago, but when I turned it over there were even bigger cracks. I think it may have been like that for a while. In case it's related to all the rain we've had recently I took the other squashes inside to store for winter. They're currently providing a festive display on the dining room table. I am still keeping the cracked squash for seeds though. The person who gave me the seeds in the first place said the cracked one was bigger than hers ever grew!
Also, a couple of mushrooms popped up in the grass. I took this as a good sign that we have healthy fungal connections throughout the soil.

Saturday, 13 October 2018

Honesty for flower arranging


Honesty is not the most attractive plant when it is growing. It's a biennial, which means it takes two years to complete its life cycle of growing, flowering and producing seeds. For the entire 15 months it was in the garden (it started in spring one year and completed its cycle in summer the next year), my husband complained that I had planted a weed. Here it is with its little serrated-edged heart-shaped leaves looking like a weed as a seedling:
Here it is at its absolute peak:
Here it is in May after it has flowered and started producing seed heads. Its leaves look a bit like nettles and its flowers are light-pink and look like weeds. I didn't think to take a photo of it when it started flowering before the seed heads appeared, but it didn't look any more attractive.
  It looks even worse from a distance:
However, looking like a weed comes with the advantage that it also grows like a weed. It's prepared to grow absolutely anywhere, even in areas with barely any soil that are always in shade. And it is worth growing at least as a once-off, so that you can use its seed heads as dried flowers. To do this, you need to leave it growing in the ground until the plant dies and dries out and all the leaves have fallen off. I harvested mine in early August this year. I had picked a couple of stems earlier because they were in the way of the shed door, but they went mouldy rather than drying out nicely. It may be possible to pick the stems earlier, but if you do, you'll need somewhere nice and dry to store them.

When you harvest it, you next need to remove the dull beige outsides of the seed head to reveal the shimmering moon-like interior. I found that the best way to do this was to bend the seed head near to where it joins the stalk of the plant. This released the outer skin of one side, which you could then just peel off. You need to do the same for both sides of the seed head, as there is an outer skin on both sides.


You can then arrange these in a vase like you would arrange any other flowers, only without water and they will shimmer in the sunlight.
How big your display of flowers will be depends on how big the plant grew and much you've picked. Some of my plants grew more than a metre tall. Ideally remove any snails you see on them, as the snails eat the seed heads as well as the leaves, leaving the dried plant less attractive

Sunday, 7 October 2018

Misty morning reveals beauty of spider's web

It was a misty October morning when I looked out of the backdoor and thought "nah, this is not going to be a good day for drying washing, but wow, look at that spider's web on my sage and marjoram, it looks amazing in the morning mist".

It had barely been visible in the sunlight:

Incidentally, I was wrong about the laundry. The sun burnt through the mist, but by then it was too late to put a load on. Ah well, these things happen.

Sunday, 30 September 2018

Autumn vegetables

Autumn has come to the garden. I got back from holiday to a garden that was in decline.

In the sunshine it still has a certain something, especially as the cosmos plants have finally flowered (late as ever in my garden), but in the chill of early morning it looks rather bleaker.
The corn is now brown and old. My courgettes have produced one last, huge courgette, but stopped flowering, so there will be no more there. The cucurbits (squashes and courgettes) are also uniformly covered in a dusting of powdery mildew and many patches are bare where I removed leaves to try and prevent the mildew from spreading. Interestingly, the only places the cucurbits aren't consumed in mildew are where the plants have crept into and up my bean stalks. I'm not sure if there's something protective about the beans or if it's being off the ground they like. I will try to remember to give them supports next year so they can lift themselves off the ground.
My purple beans  also fell over in the winds of the storms while we were away, and my sunflowers lost a number of stalks and seed heads to the storms.
However, all was not lost. Despite having toppled to the side, the purple bean plants are still producing plenty of beans. My squashes are finally turning from deep green to ripe orange.
It is the season for harvesting, so there is plenty to eat in the garden yet. Last night, having finally finished off the latest crop of beans I was wondering what except chard (which I like much more to look at than to eat), I could possibly eat with my dinner. It was then that I had an aha moment. All those things I'd been ignoring all summer because they were too small were finally ready to harvest. So I pulled out two beetroot and two carrots.
I've been growing multi-coloured carrots this year, but it so happens that the two I pulled out were both a pale yellow. They tasted every bit as carroty as orange carrots, especially as I cooked them the way that retains flavour the best: remove the stalks and peel, but otherwise leave whole. Boil for 15 minutes, then chop once cooked.
I peeled and quartered the beetroots and roasted them along with my potatoes. Finally, I selected the smaller, fresher beetroot leaves and cooked them just like I cook chard. I cut out the stalks and chopped them into 3 cm lengths, then roughly chopped the remaining leaves. The stalks I boiled for 6 minutes (in with the carrots for the last 6 minutes of their cooking time) and the chopped beetroot leaves I boiled for 3 minutes (also in with the carrots). They turned the water a bit red, but seem not to have had any impact on the colour of the carrots themselves. In case you're wondering, the meat is roast gammon and I made a cider gravy to go with it.

Cider gravy recipe (serves 4 with a thick gravy, 6 or 8 with a thinner gravy):

1 tbsp butter
1 tbsp cornflour (=cornstarch in US English)
1 small bottle of (optionally low/no alcohol) cider
Optionally some of the juice that has collected in the pan from any meat you are roasting

1. Melt the butter in a pan over a low heat.
2. Add the cornflour and stir to form a paste.
3. Gradually add the cider about 1-2 tbsp at a time. Keep stirring until the gravy is smooth each time before you add any more. Keep adding cider until you have a consistency you like. Once you have reached a consistency you like, turn up the heat and keep stirring until the gravy bubbles. Once it has bubbled, check whether you still like the consistency. If it's too thick now, add more cider as before.
4. Optionally add 1-2 tbsp of the juices from any meat you were roasting and stir in.