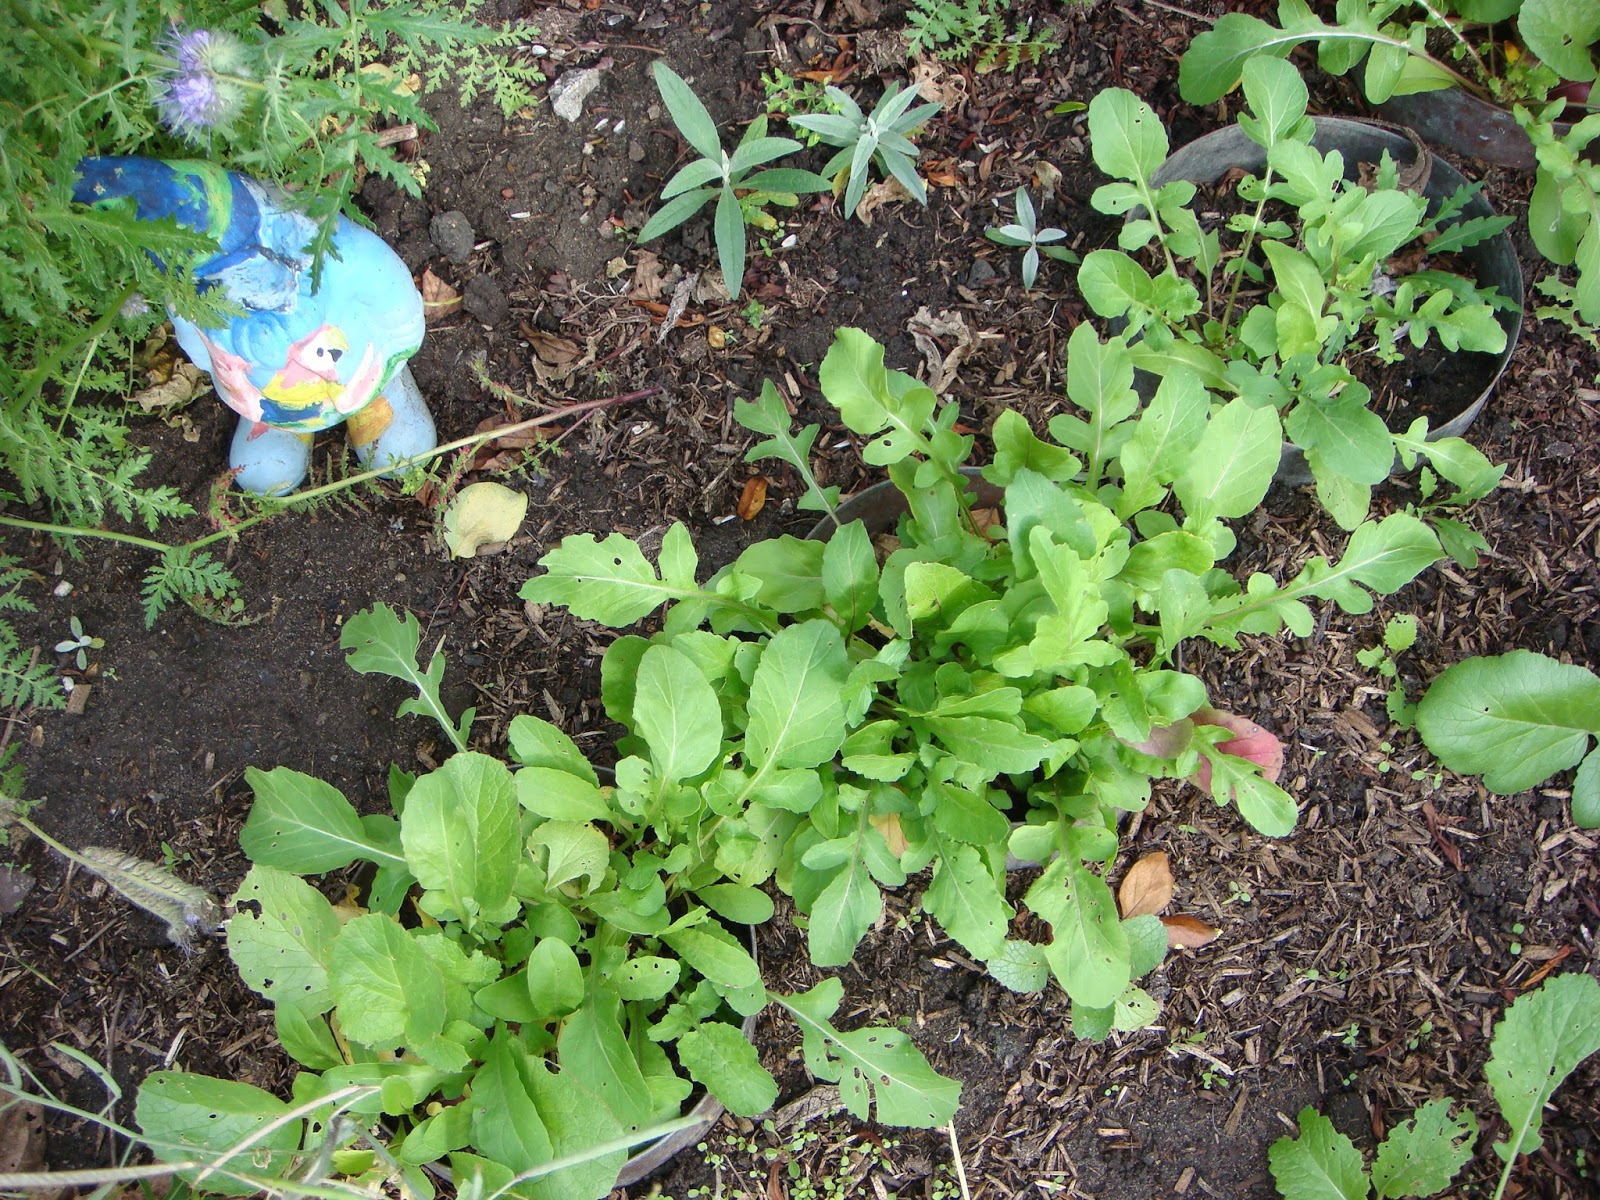
There are two key reasons why I haven't tidied up the garden:
1. I'm lazy, and
2. I've left it all to go to seed so I can gather the seeds.
If anyone asks, I'm pleading the second.
I have been hard at work gathering seeds this year, as there are quite a few vegetables you can do this from.
The picture below is rocket after it's gone to seed.
It has lots of individual pods full of tiny little seeds. To collect the seeds, wait until it looks dried out like the pictures, then rub the individual seed pods between your finger and thumb over an open envelope, or anything else you want to gather the seeds in. The seeds, which are tiny little brown dots, will fall out of seed pods into your container.
My experience says you'll need a lot of the seeds - I have great difficulty getting rocket seedlings past the things that want to eat them, so sowing in large numbers is probably going to help. I think the main culprits may be birds from the fact that the self seeded rocket seems to have grown in large quantities under the protection of the dried-out stalks and seed pods above.
The other way I've been quite successful with it is to grow it in with radishes so it's not so easily noticed by whatever it is that likes to eat my seedlings right down to nothing. I still ended up with far more radishes than rocket.
Carrots and parsley are both members of the apiaceae family and both are biennials, meaning they flower and produce seeds in their second year. This means that in order to gather seeds from them you have to leave them growing in the same spot for two years, which kind of messes up your crop rotation system. I did that with the parsley because I had it in the herb garden, which isn't part of my crop rotation. With my carrots, one of my plants got so stressed it flowered in its first year, so I got lucky there, but usually I wouldn't get a chance to gather carrot seeds. I think if I wanted to grow carrot seeds intentionally, I might plant them somewhere completely outside my crop rotation beds.
Carrots look like the pictures above when they flower. Parsley looks pretty similar, only the variety I grew was more a yellowish green colour than a white.
You can gather the seeds once the flowers have gone brown and dried out and you can see the seeds. Just knock them off the plant with your finger into an open envelope or other container.
With beans, you wait until the pods have dried out.
Then you simply leave them in their pods, or to take up less room in storage, take them out of their pods and put them in an envelope.
I'm still waiting for these beans to dry out some more. They look dry in the photo, but they still look full of moisture in real life.
The peas work just like the beans: you wait until the pods have dried out and then you leave them in the pods or take them out and store them in an envelope. I didn't manage to store any mangetout this year because by the time I'd finished eating mangetout the plant had died and there were none left to save as seeds. But I did have plenty of sweet peas left over, and the principle's exactly the same:
- Aubergine (eggplant), tomatoes, bell peppers (capsicum), chillies
These have their seeds on the inside of a fruit. There's no waiting for these to dry out. Most will rot first if you try to dry the whole fruit. In fact, I think that's how so many of my tomatoes have self seeded all over the garden - the fruit has fallen off the plant and rotted into the ground, where its seeds have germinated. What you have to do is cut into them when they are fully ripe. Most tomatoes, peppers (except green peppers) and chillies are fully ripe when you eat them - the riper (usually = redder) they are the better.
Aubergines are usually eaten before their seeds are ready.
The almost black one at the back was far too young to have any seeds. The lighter purple one at the front was getting there and had a few large seeds in.
But it wasn't until the aubergines had a thoroughly yellowy brown tone to the skin that they had a lot of seeds of a decent size.
When I opened the aubergine, the seeds were in the centre and I dug the whole section out.
You then need to remove seeds from this and wash off as much of the pulp they're stuck to as you can with water. I sometimes do this by putting them in a sieve and running water over them. I then rub them and pull out the largest bits of pulp. The same applies to all these types of seeds - the types of pulp in the different plants largely vary in how juicy and how sticky they are.
I like to get as much of the pulp off as possible, but actually you only need to get enough off so you can dry the seeds with any remaining pulp out without the whole thing rotting.
I then dry out the seeds I've washed on a plate or in a ramekin. Sometimes you end up having to prise them off the plate afterwards, even when you think you've got all of the pulp off.
Once they're dry you can put them in an envelope to save them.
- Squashes, pumpkins, courgettes (zucchini) and cucumbers
The seeds of squashes and pumpkins are gathered when they're ripe enough to eat.
With courgettes, if you eat them at the size they sell them in the shops, you won't get any viable seeds, but they definitely produce seeds by the time they get to the size of a marrow and they can produce seeds before that stage, while they're still perfectly edible. Before they're huge, only the bigger seeds will be viable. From the size below you may get some viable seeds.
From this size you definitely will:
With cucumbers, they need to be riper than you'd buy them from the supermarket. You can still eat the flesh around the seeds when they're big enough to produce viable seeds. The photo below is probably a big enough cucumber to produce some viable seeds, but basically the bigger the better, as the more mature the seeds will be:
Only leave cucumbers to mature with the intention of producing seeds at the end of the season (or by accident) though. Once a plant gets close to maturing seeds it will focus all its energy on that and stop producing new fruit.
With all of these plants, you collect the seeds by scooping the pulp and seeds from the centre of the mature fruit:
Like with the tomatoes, aubergines etc. you then scrape/pull the seeds out of the pulp and rinse them off as well as possible. Then leave them to dry on a plate. I recommend not leaving them to dry on kitchen roll, as otherwise you end up with little bits of kitchen roll stuck to them forever. I also recommend not drying them off straight on a kitchen work surface because you may damage the surface when you have to prise them off because the traces of the pulp and juice stuck them to it.
I haven't yet managed to save seeds from my lettuce.
To my surprise the flowers grew like dandelion flowers and then even followed through into the fluffy dandelion clock stage. I saw them like that and foolishly thought "I'll leave them a couple of days to get a bit riper". But then it rained and all the fluff and seeds washed away (probably self-seeding all over my garden). So my current advice is, as soon as your lettuce flowers move into the fluffy dandelion clock stage, pull the fluff out and save it and the seeds (or if easily separable, just the seeds) in an envelope.
I know these aren't technically a vegetable, but I grew them in the vegetable garden, so I thought I'd add them in as a bonus.
Sunflower seeds are ready when they look like this. You can usually just push them out with your thumb.
I tend to collect and store all my seeds in envelopes because the paper creates good conditions for them. Little money envelopes like this are excellent for saving space.
Label them with the most precise description of the plant you have and the year. This one is labelled "Sweet peas 2017 (white, pink, purple)" because I didn't know the full name. Where possible I record the full name on the envelope (e.g. aubergine "Black Beauty"). Occasionally I also record other data, like how far apart to plant them, if I think I'm going to have difficulty finding it again. The year is on there so you can work out which seeds you collected most recently.
I like to seal my envelopes by folding over the top twice, then fastening it with a paperclip. I do that because in the past when I just folded the envelope without a paperclip (or even when I sealed it with its gum), I ended up with a lot of seeds getting loose. Then I had to chuck them or guess what they were.